1. Installation: Automatic Tool
- Install the AMX Mod X Automated Installer by downloading the package.
- Go to Start -> Programs -> AMX Mod X -> Installer
-
The installer will attempt to determine the different HL installations on your system.
- For Steam, there will be two options: Listen Server or Dedicated Server. Make sure you choose the right one.
- Other installations detected will be 3rd-party and Valve mods in Steam, as well as HLDS installations (HLServer).
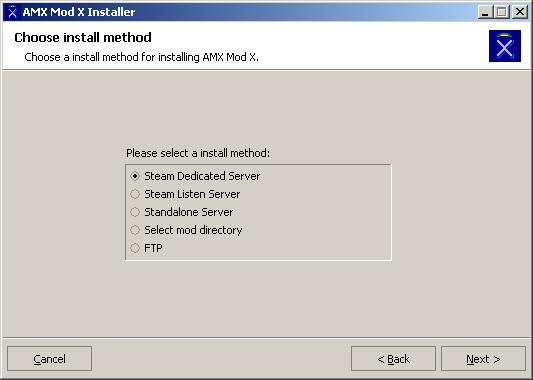
- If your installation does not appear on the menu, you can browse for the right folder containing your mod(s).
-
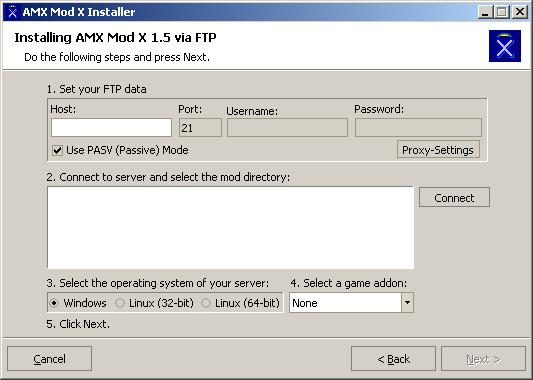
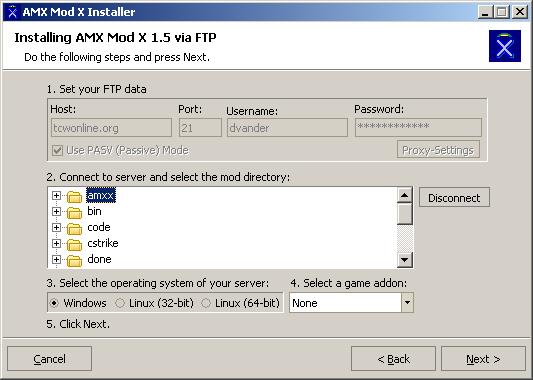
Lastly, you have the option of installing AMX Mod X remotely over FTP. You will be asked to enter the host, username, and password to access your server.
If the installer cannot detect a mod or HL installation properly, it will ask you to select a folder remotely on your FTP.
-
If you already have an AMX Mod X installation, you will be asked if you want to upgrade. This will preserve your configuration options.
This is a good idea, but in general you should make an effort to see if there were any new options added.
You will also be asked in the same menu if you would like to remove AMX Mod X - this will simply disable it, you will need to delete the files yourself.

- The installer will then copy the files to your server and install+configure metamod (old metamod plugins will not be overwritten and plugins.ini will not be erased, just appended).
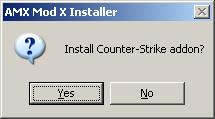
- If you are using a mod which has extra support (currently CS, CZ, DoD, TFC, TS, and NS), then you will be asked if you want to install the addon package for it. You will usually want to click Yes.
- You should be all finished! Exit the program and restart your server. Continue the installation with the Configuration section. For problems, visit the Troubleshooting section.